String Exploration Kit
Available starting July 15 (while supplies last)!
Make a Mini Zipline, a Balloon Race, and a Paper Spinner! Request to have a kit delivered with materials and instructions for several family-friendly crafts that experiment with string. To receive a kit, please email YouthServices@corvallisoregon.gov
If you already have the materials at home, you can find instructions for each craft below.
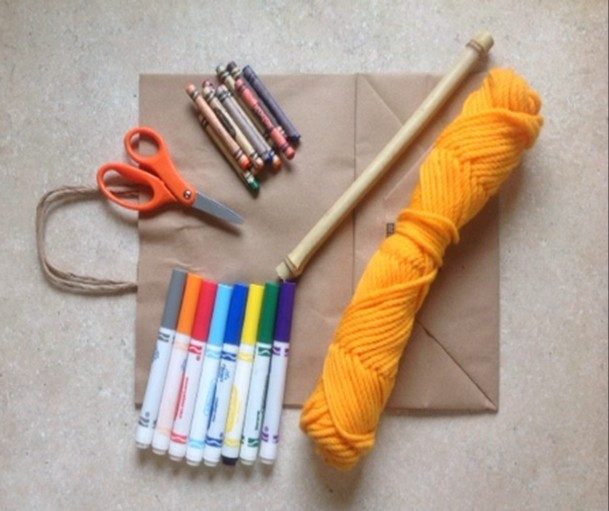
Paper Bag Kite
Materials:
- A large paper bag with handles (use the bag this kit came in!)
- Crayons, markers, stickers, etc for decorating
- Yarn or sturdy string
- A strong stick big enough for string and hands
Directions:
- Decorate the paper bag any way you choose.
- Cut a 6 inch piece of yarn or string, and knot one end around one handle of the bag, and the other end around the other handle. Do not pull tightly together. This “joins” the two handles.
- For the kite string, cut a very long length of yarn and secure it to the middle of the 6 inch piece of yarn. This is your “flying” string.
- Tie the long kite string to the middle of the stick. Then roll the stick over and over, winding up all the yarn.
- Take the kite outside and catch the wind!
Inspired by: https://happyhooligans.ca/homemade-paper-bag-kite-winder-handle/
Paper Spinner (Whirligig)
Materials:
- Cardstock circle with two holes in the middle
- Markers, crayons, or colored pencils
- String
Directions:
- Color both sides of the paper circle. You can use any design and colors you would like: spiral, stars, lines, emojis! Here are a couple possibilities:
- Thread the string into the holes. Tie the ends of the string together, and center the disk in the middle of the string.
- Hold the string between your hands and swing the disk around in a circle towards or away from you several times to twist the string, then gently pull and release the string repeatedly between your hands to make the disk spin!
Balloon Race
Materials:
- Balloons
- Labels (to use as tape)
- Straws
- String
Directions:
- Thread a piece of long string through a straw.
- Tie each end of the string to something sturdy such as a chair, a pillar, or a door knob.
- Put two pieces of tape or the sticky labels provided in your kit across the straw, leaving the ends sticking out (these will attach to the inflated balloon.)
- Place the straw at one end of the string.
- Inflate the balloon to desired size. The bigger the balloon, the further it will go.
- Pinch the neck of the balloon tightly to keep the air in.
- Tape the straw to the top of the inflated balloon.
- Let go and see the balloon go!
Zipline Craft
The instructions for this craft are extremely simplified, as there is no right/wrong way to put this together. The purpose of this is to learn through the process of experimentation, and trial and error.
Materials:
- Paper cup
- Bobbin
- Chenille stems (pipe cleaners)
- String
Directions:
- Decorate the cup however you choose.
- Poke holes into the sides of the cup and thread the chenille stem through to create a handle.
- Take another chenille stem and form a hook, then thread the bobbin on the hook.
- Tie each end of the string to something sturdy such as a chair, a pillar, or a door knob.
- Experiment with using the basket on the zipline string! How does adding extra weight affect the zipline basket?
