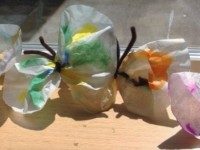
Here are two tutorials for creating watercolor butterflies from round, basket-style coffee filters. One uses a spray bottle, and one uses capillary action. Both are lots of fun!
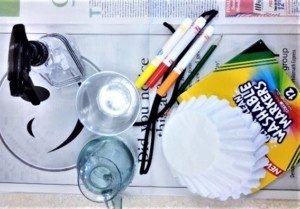
Gather your materials:
- Round, basket-style coffee filters (white works best)
- Newspapers
- Washable markers
- Pipe cleaners
- Scissors
- Water
- Clean spray bottle (for 1st version)
- Clean, short, cups or glasses (for 2nd version)
- Pencil (for 2nd version)
- String (optional)
Version 1: How to Make Coffee Filter Butterflies Using a Spray bottle
- Line your countertop or table with old newspapers to keep it clean. (It will still get wet!)
- Get a coffee filter, and flatten it out as much as you can.
- With the markers, color a creative design on the filter.
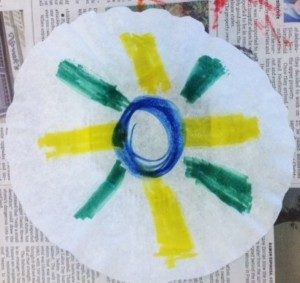
- Spray water onto the filter and marker until the coffee filter is completely wet. Once it is completely wet, stop adding water. If you add a big pool of water the colors will mix together too much, plus it will take forever to dry.
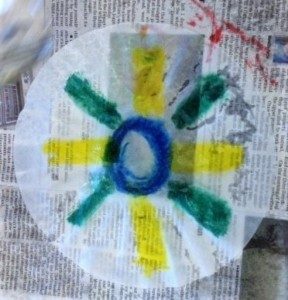
- Let the coffee filter completely dry.
- Cut a pipe cleaner in half.
- Fold the top of the dried filter into the center. Gather the rest up from the bottom, and wrap the middle with half a pipe cleaner to form the body and antennae.
- Optional: tie a string around the butterfly and hang it up to admire it!
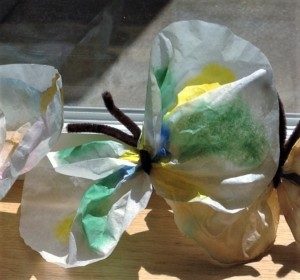
Version 2: How to Make Coffee Filter Butterflies Using Capillary Action: A Chromatography Experiment!
- Line your countertop or table with old newspapers to keep it clean.
- Choose one marker to experiment with first. Black and brown markers are the most exciting!
- Take one coffee filter. Draw a thick circle around the center of the coffee filter where the ridged part meets the flat center. Use a pencil to write the color of the marker being used right in the center. You’ll want to know what your original color was, and the pencil won’t smear.
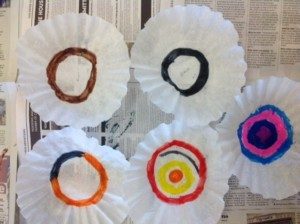
- Fold the coffee filter in half, and then in half again, resulting in a cone shape.
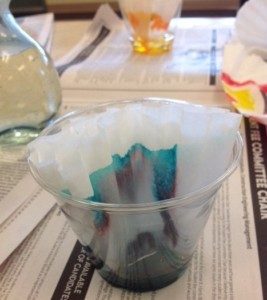
- Get a short glass, add a small amount of water, between a quarter and half an inch. Pull apart the cone shaped coffee filter a little so it balances right on the glass with the tip of the cone just touching the water. (Be sure NOT to let the marker circle go in the water, just the uncolored tip of the coffee filter cone.)
- Let it sit and watch what happens as the water begins to flow up the paper. The way the water flows upwards is called capillary action, and the way the marker ink separates as the water picks it up is called chromatography.
- Once the water has almost reached the outer edge of the coffee filter, place it flat on a newspaper to dry.
- Repeat on new filters with different colored markers.
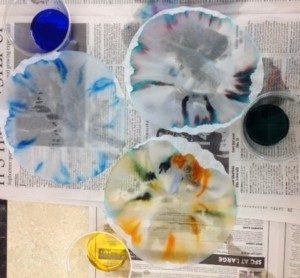
- Let the coffee filter completely dry.
- Cut a pipe cleaner in half.
- Take the dried coffee filter, fold the top edge into the middle, then wrap half a pipe cleaner around the middle to form the body and antennae.
- Optional: tie a string around the butterfly and hang it up to admire it.
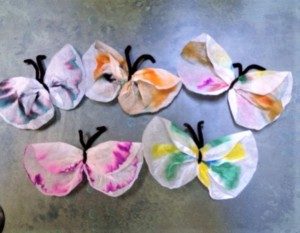
from Kathy at the Alsea Community Library
