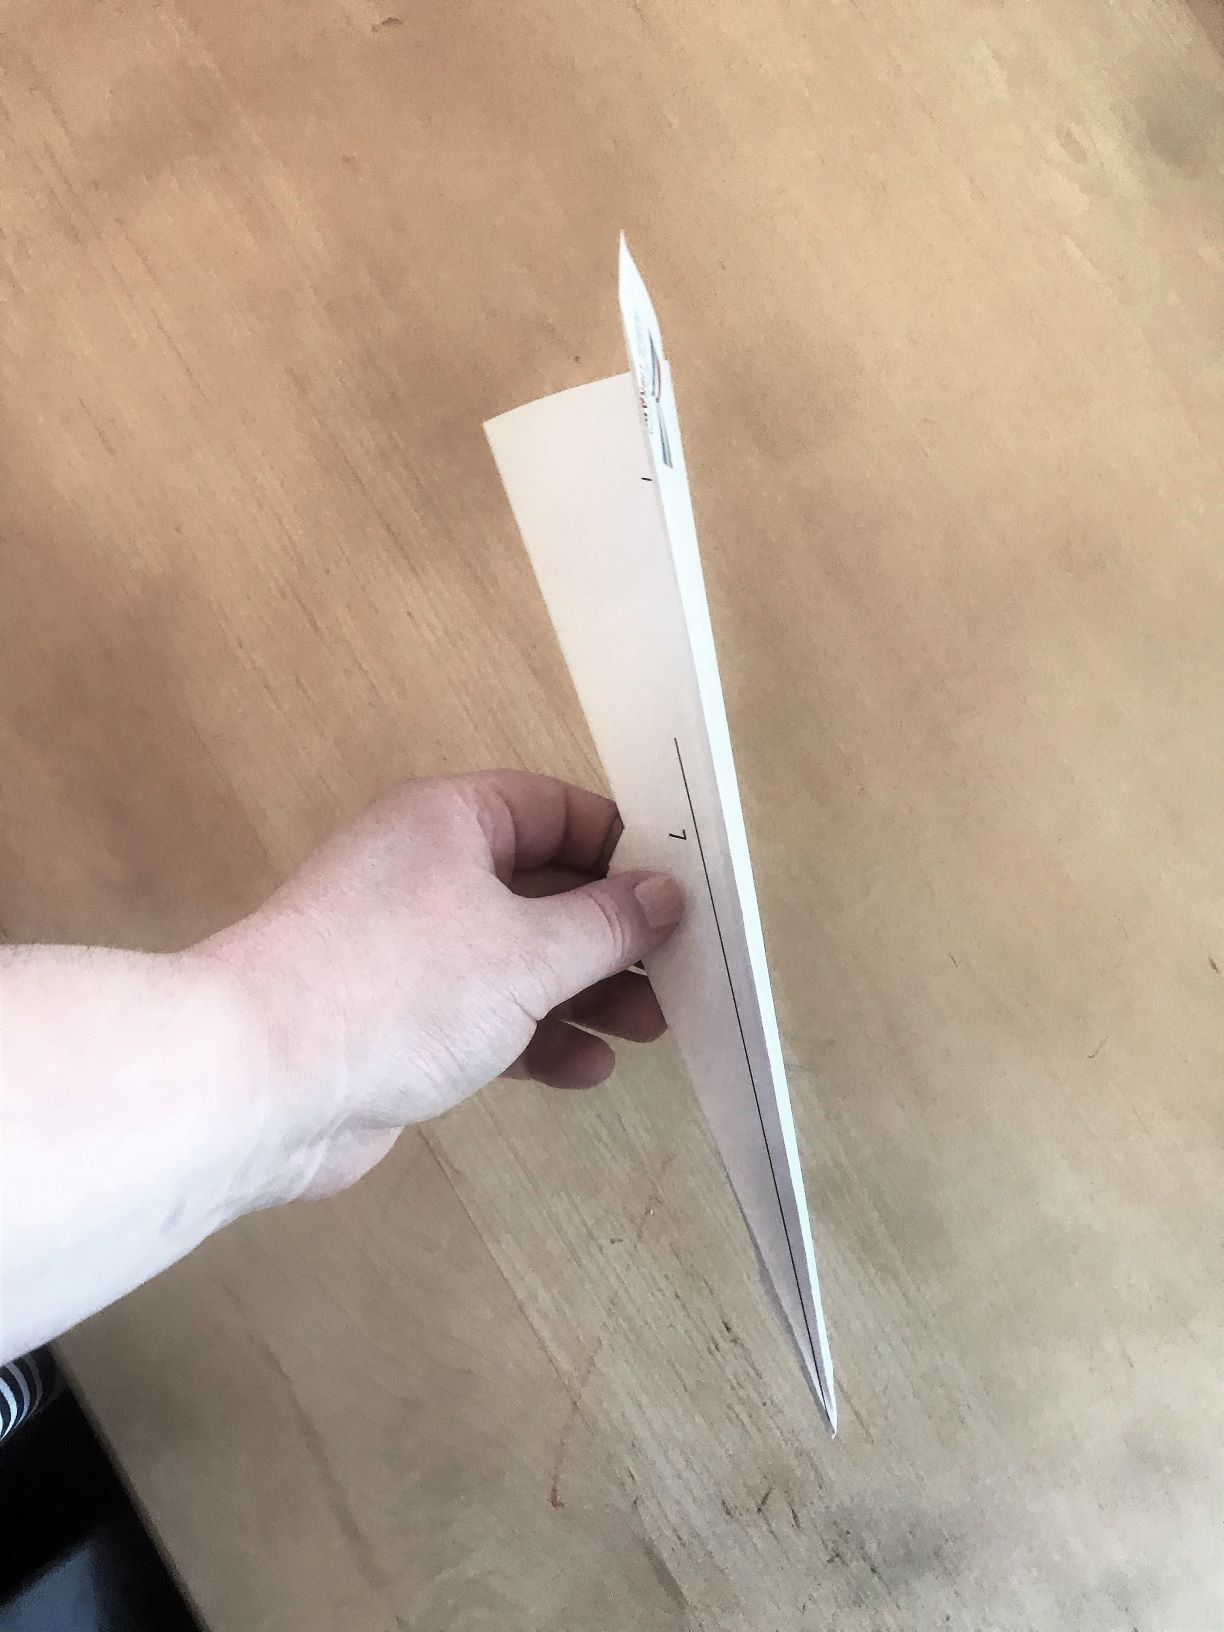
Follow these steps to fold your own paper airplane, and you’ll send it gliding in no time.
Materials needed:
Download and print out our template on this page, or use any 8.5-by-11-inch sheet of paper.
Instructions:

Step 1: Fold the paper in half lengthwise along line 1 (like a hot dog bun).
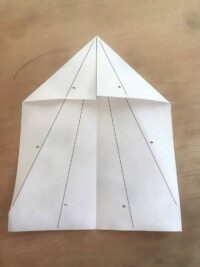
Step 2: Flip the paper over and lay it flat, fold 2 and 3 towards the new center fold mirroring each other – lines 4 on both sides should line up and lines 5 on both sides should line up.
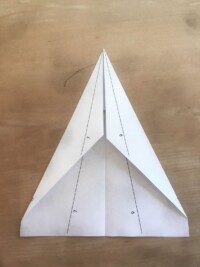
Step 3: On top of folds 2 and 3, fold lines 4 and 5 towards the center fold mirroring each other – lines 6 on both sides should line up and lines 7 on both sides should line up.
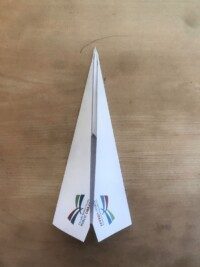
Step 4: On top of folds 4 and 5, fold 6 and 7 towards the center fold mirroring each other – the library logo should now be on top.
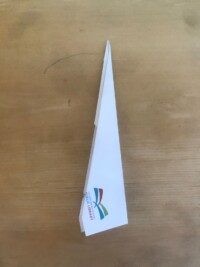
Step 5: Refold the paper along line 1 on the other side of the paper.

Step 6: Unfold the flap folds made by 6 and 7 to form your wings– your plane will make a T shape if you look at it straight on from the front or the back. See how far it can glide!

