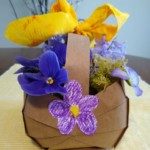
Try making these simple baskets! They use just one piece of paper, and are perfect for holding flowers, as long as you line the basket with something waterproof!
Gather your materials:
- Paper – any kind! Try copy paper, construction paper, craft paper, or recycle a brown paper bag.
- Pencil
- Ruler
- Scissors
- Glue/stapler/tape
- Ribbon
- Optional: crayons or markers
Instructions:
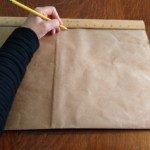
- On a piece of paper, measure and cut out a 6-inch by 6-inch square.
- Draw 2 horizontal lines across the square every 2 inches. Rotate the paper and do that again so you have a grid of nine 2-inch squares.
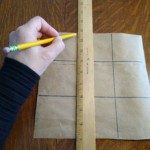
- Along the vertical lines, cut 2 inches in on both the top and bottom. This will leave you with three 2-inch square flaps on the top, and three on the bottom.
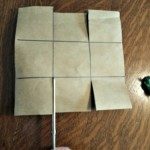
- Starting on the bottom, cut the center flap into a triangle and then cut both side flaps into thirds. Repeat on the top.
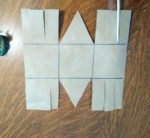
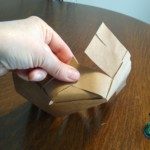
- Starting on one side, bring the two strips on either side of a triangle together over the triangle.
- Then layer the next two strips, and then the last two.
- Staple all strips at once, or tape or glue between each set of strips.
- Repeat on the other side.
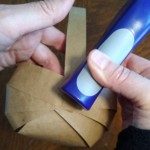
- Punch or cut out two paper circles that are at least 1 inch wide, though they can be bigger.
- Fold them in half and glue them to cover the staple/tape.
- If you prefer, you can also color and cut out a decoration to cover the staple or tape, as pictured.
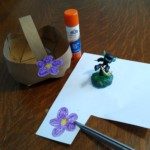
- For the handle, cut a strip of paper ½ inch wide x 6 inches long and glue or tape on the inside of the basket.
- Decorate more as you wish, add ribbon, and fill with something delightful!

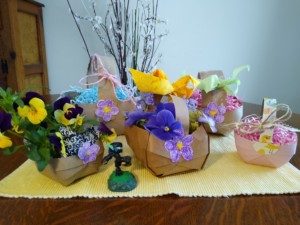
from Mari Beth at the Philomath Community Library
